Visiting New Zealand, we knew we wanted to try wwoofing. It’s a great way to stay somewhere for free and to get a taste of real farm life. The joy of our first week-long wwoofing experience was to milk 8-10 goats morning and night, one at a time with a milking machine. The process took 1.5-2 hours to complete.
I’m not sure how it might be done in other farms, but here are the steps we took every time:
- Mix the feed (cooked barley, molasses, hay, seaweed, and minerals)
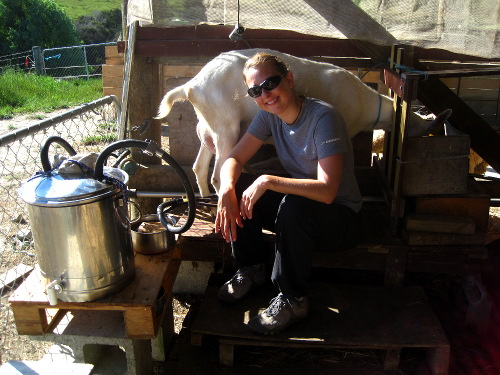
- Put together the churn (milk can)
- Fill a one liter bottle with hot water and another one liter bottle with boiling water
- Bring feed, churn, bottles of water, and a clean cloth to the milking parlor
- Distribute the feed into each goat stall (milking goats get a handful, pregnant goats get a full ration, roughly 3-4 handfuls)
- Bring goats from the paddock into each stall, making sure each is in the correct stall and the gates are tied (eight goats were always milked, two mamas, one with a single kid, the other with two, were only milked in the morning, one mama with three kids was never milked, and four pregnant goats were never milked—in all 21 goats and kids to feed and/or milk)
- Turn on milking machine
- Put boiling water in pot and flush milking machine on high speed
- Close valves and plug tubes into the churn—read to milk
- Put feed in bucket for goat to eat during milking
- Get goat and secure boards around her neck so she can’t escape
- With warm water and yesterday’s cloth, wash the teats
- With clean cloth, dry the teats
- Check milk from each teat by hand by milking 2-3 squirts into a clean pot, looking for lumps or blood
- Grab the two milking cups and bring them in between the goat’s legs
- Open the valve and plug the milking cups onto the teats
- Check for correct pumping by watching the milk go through tubes
- Once the goat is done (no more milk is visible in the tubes, the milking cups are riding up the udder, or the udder looks visible deflated) close the valve and remove the milking cups
- If the goat is done eating, return her to the paddock, otherwise bring her back to a stall to finish eating
- Repeat steps 10 through 19 for each goat
- For the goats that don’t get milked, bring them back to the paddock when they are done eating
- Collect all feed buckets when all goats are done milking
- Clean the milking machine:
- Unhook tubes from milk churn and connect together
- Pump 1/2 a bucket of cold water through the machine on high speed
- Pump 1 liter of boiling water with cleaning solution through machine on slow speed
- Prop bucket containing the various pots under the machine’s evacuation trap
- Hang milking cups and unplug the machine—the water empties through the evacuation trap, into the bucket
- Rinse off and put away the pots and drying cloth
- Brush off milking parlor
- Bring back remaining feed, the churn, the wash pot, and the dirty cloth to the house
- Empty milk into jugs—for drinking, cheesemaking, etc
- Clean churn (rinse with cold water, scrub with soapy water, rinse with hot water)
Here are steps 12 to 17 for your enjoyment (note the loudness of the machine).
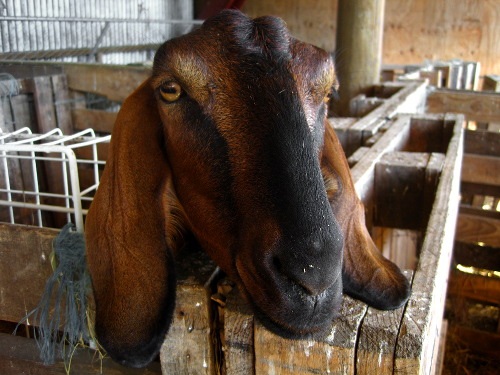
This is Rose. She was my zen goat. She always seemed to be smiling, she was patient, observant and always willing without a fuss. She had a great pair of teats too.

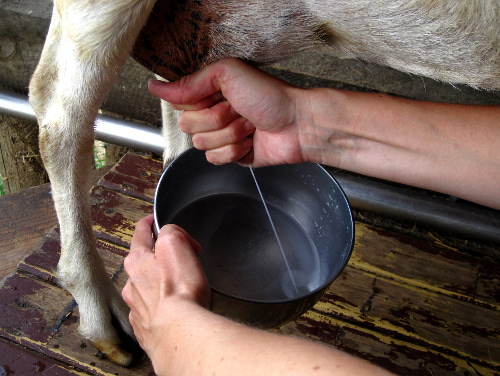
It took me a few times before I could get a good squirt out. But voilá!

Milking in progress.

Oh and the best part… towards the end of milking a goat, I was suggested to grab the udder…

… and give it a massage (firm squeeze from the back, as if the kid were pressing its head against the udder) to promote milk production and to squeeze a little more out.

I hope it was as good for the goat as it was for me.
*Update*: to my udder surprise, udders are spelled with d’s not t’s. Sorry mama goats!


With the instructions you have written, the video and the great pictures I can totally imagine your great experience. Only one thing I’m not sure about. Goat products smell pretty strong. how are the animals themselves?
Oh, you two – wonderful that you are wwwoofing, lucky hosts! : ) Wendy